Beneath the finish: waterproofing preparation stages
Stage one · Surface preparation
Bond into, not onto
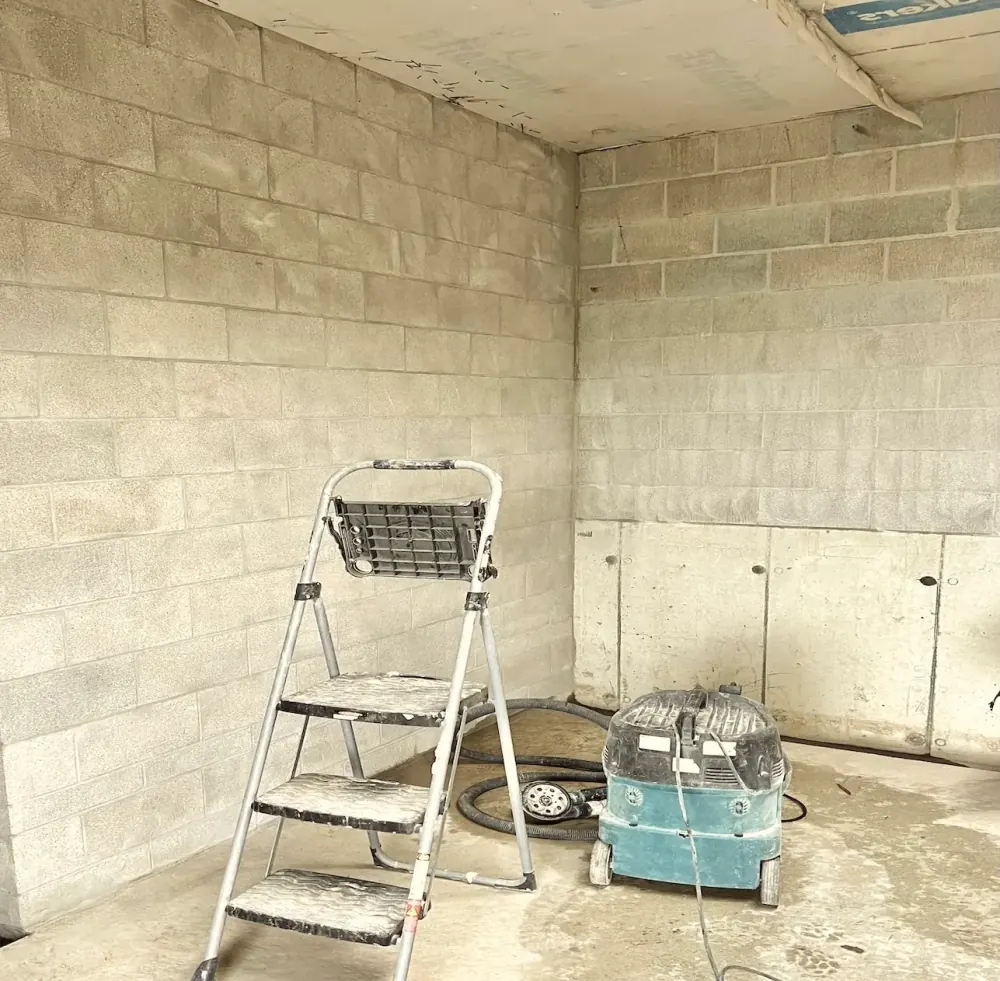
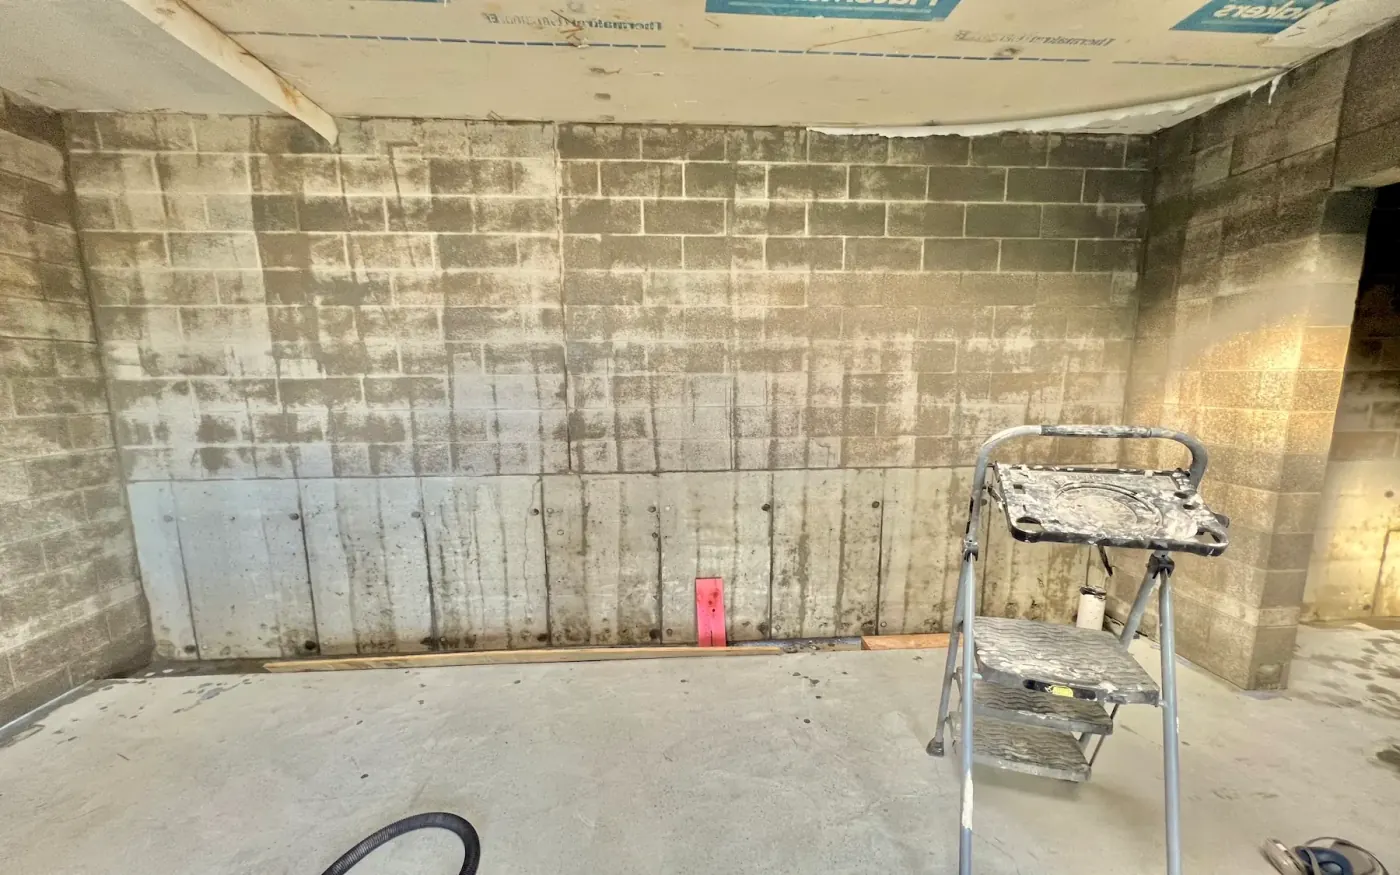
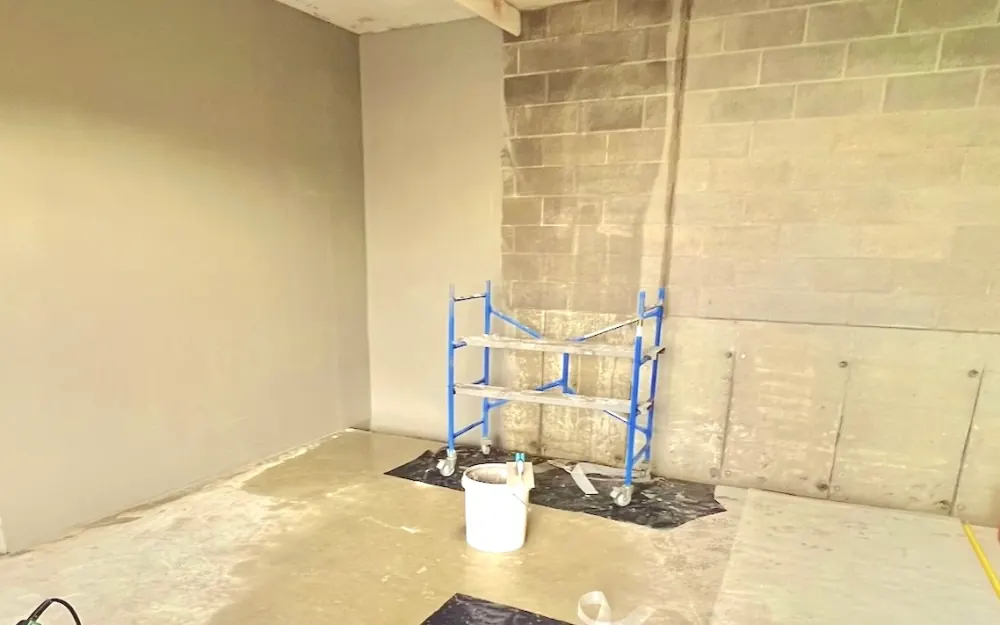
The entire bathhouse was mechanically ground to remove contamination and weak surface material, exposing a clean substrate that allowed the following layers to bond within the surface—not merely onto it.
Stage two · Dust extraction
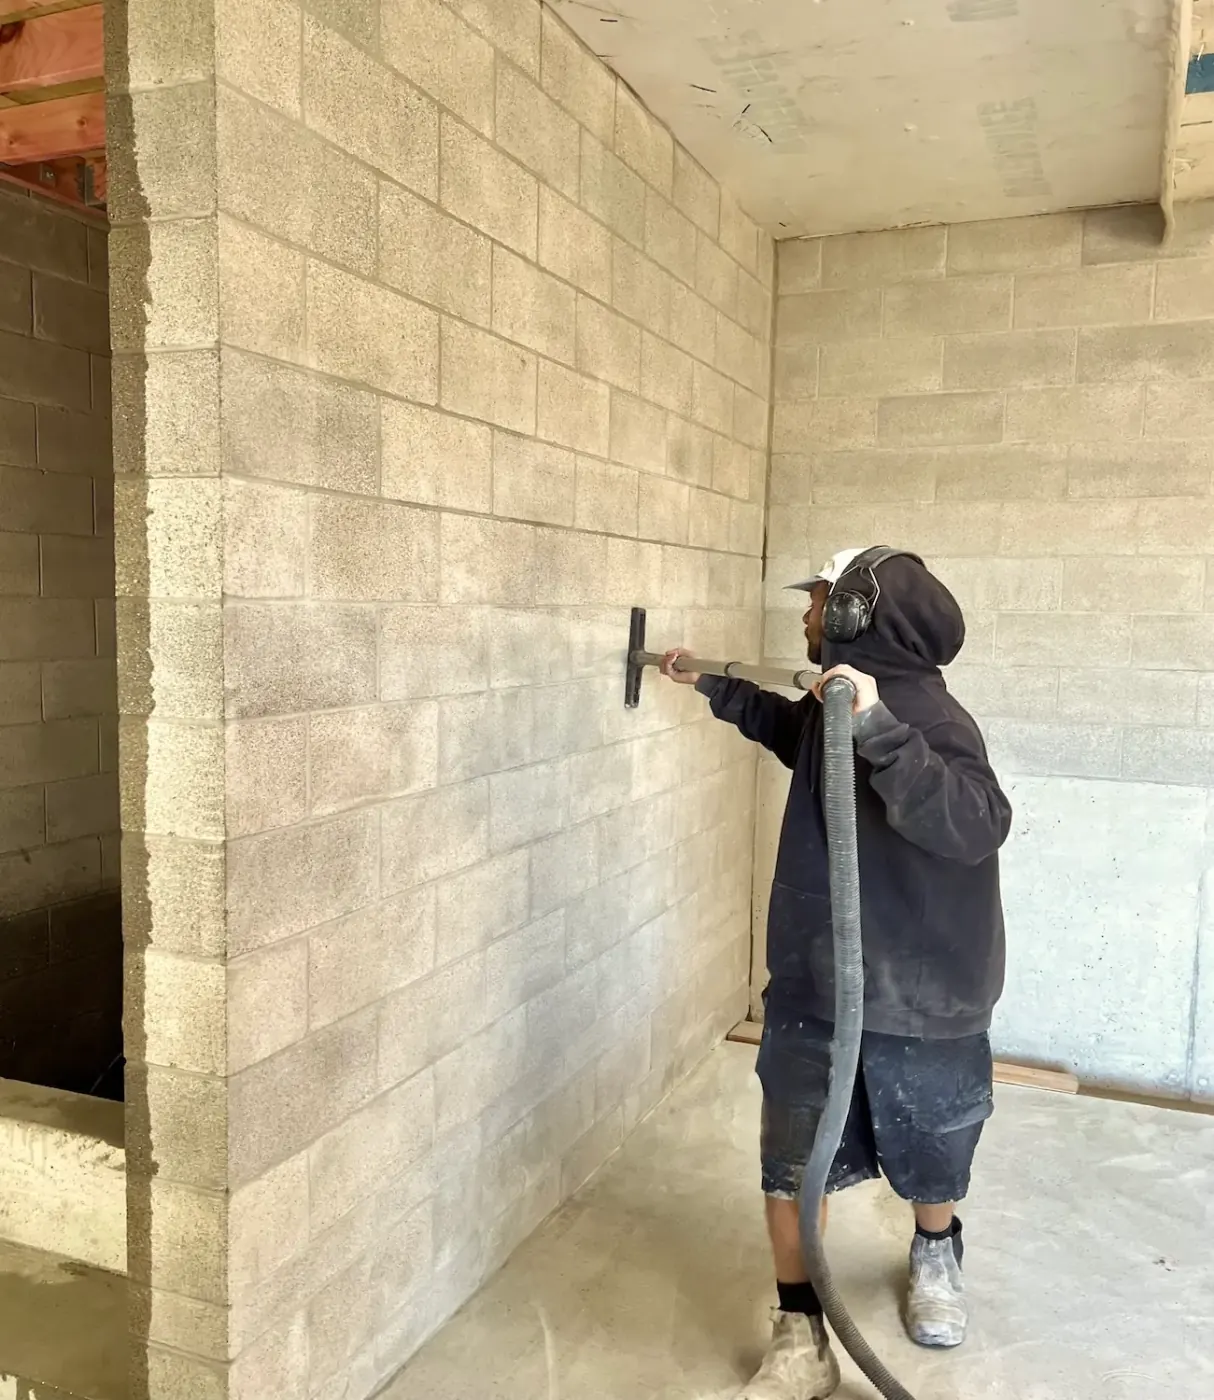
Nothing left behind
All dust and debris were removed by vacuum extraction, leaving the surface clean, open and free of anything that could compromise adhesion.
Stage three · Substrate opening
MAXIMUM REACH
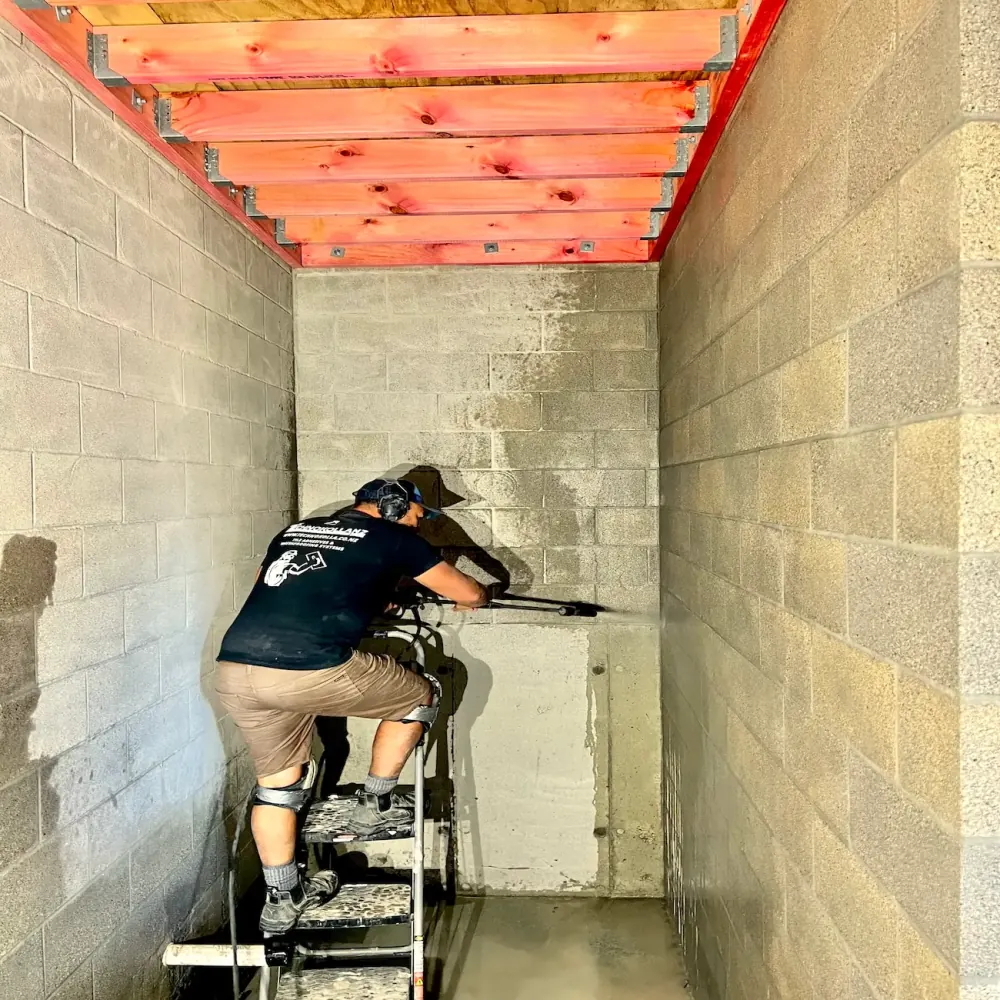
Waterblasting flushes remaining fines and opens the substrate further — maximising how deeply the system can penetrate and bond within the surface.
Stage four · Bond conditioning
Consistent adhesion
Primer conditions the bond surface, regulating absorption so the following layer can adhere consistently.
Stage five · Waterproofing envelope
INTO THE PORES
With the surface prepared and dampened, the trowel-applied waterproofing was worked into the substrate — locking into the pores for a full mechanical bond.
Stage six · Mosaic setting-out
Zero drift
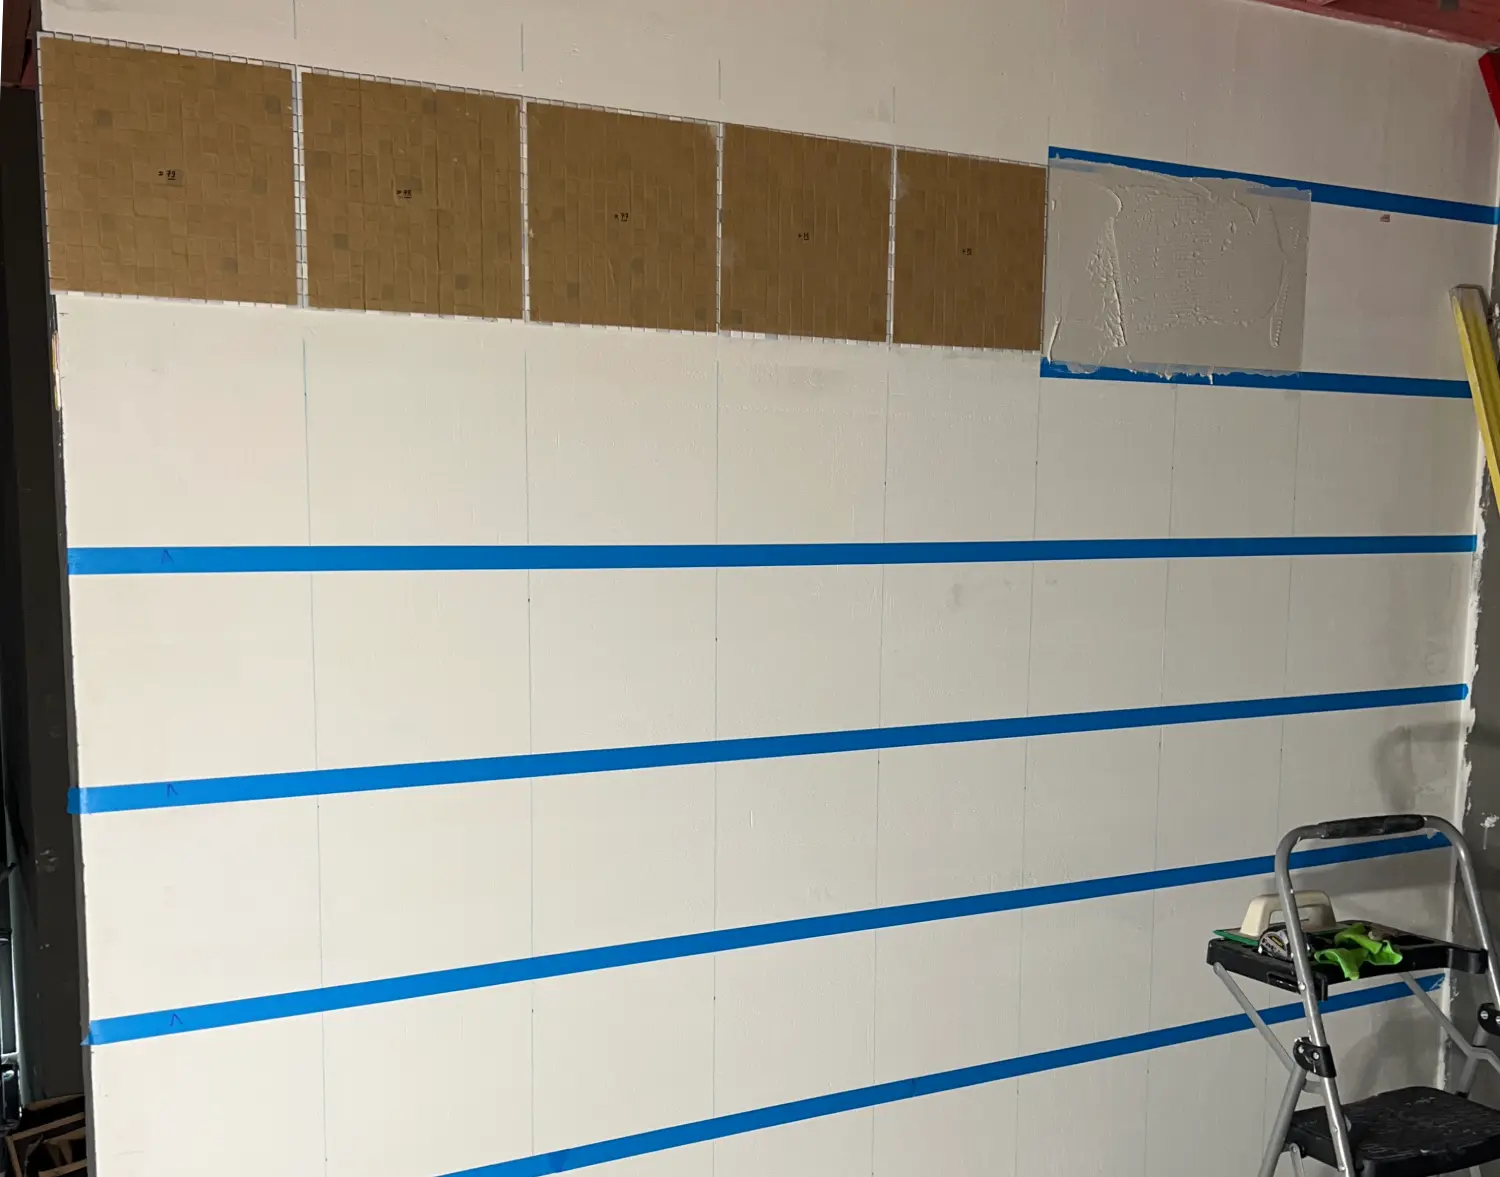
The grid-set and tape method gives every mosaic sheet a clean, governed starting position—limiting adjustment to the fine-tuning required for zero-drift alignment.